
What is Cider Brewing?
Cider brewing is the process of fermenting apple juice to produce an alcoholic beverage known as cider. Unlike beer, which is brewed from malted grains, cider is made solely from the fermented juice of apples. The natural sugars present in the apple juice are converted into alcohol by the action of yeast during fermentation.
Cider brewing has a long and rich history, with evidence of its production dating back to ancient times. It was particularly popular in regions with abundant apple orchards, such as England, France, and Spain. Over the centuries, different cider brewing styles emerged, ranging from dry and tart to sweet and fruity.
One of the most common classifications of cider is based on its sweetness level:
Dry Cider: Dry ciders are characterized by a crisp, tart, and refreshing taste, with little to no residual sweetness. They are typically fermented until most of the sugars have been converted to alcohol, resulting in a dry and slightly acidic flavor profile.
Semi-Sweet Cider: As the name suggests, semi-sweet ciders strike a balance between sweetness and tartness. They retain a moderate amount of residual sugars, providing a slightly fruity and slightly sweet taste, while still maintaining a refreshing crispness.
Sweet Cider: Sweet ciders are on the sweeter end of the spectrum, with a higher concentration of residual sugars. They often have a more pronounced apple flavor and a richer, fuller mouthfeel. Sweet ciders can range from slightly sweet to dessert-like in their sweetness levels.
Beyond sweetness levels, ciders can also be categorized by their base ingredients, such as single-variety ciders made from a specific apple cultivar or blended ciders that combine multiple apple varieties. Additionally, ciders can be flavored with spices, fruits, or other ingredients, creating unique and complex flavor profiles.
Table of Contents
Benefits of Brewing Cider at Home
Cider brewing at home offers numerous benefits that make it an appealing hobby for enthusiasts and those looking to explore the world of craft beverages. One of the most significant advantages is cost savings. By producing your own cider, you can significantly reduce the expenses associated with purchasing commercial varieties, especially if you opt for high-quality, artisanal ciders.
Another compelling benefit is the ability to customize your cider to suit your personal preferences. With home brewing, you have complete control over the ingredients, flavors, and styles you create. Whether you prefer a dry, crisp cider or a sweeter, fruit-forward variety, you can experiment and fine-tune the recipes to your liking. This level of customization allows for creative expression and the opportunity to develop unique, one-of-a-kind ciders that reflect your individual taste.
Speaking of creativity, home cider brewing is an excellent outlet for artistic expression. You can explore different fruit combinations, infuse your cider with herbs or spices, or even blend various cider styles to create truly original concoctions. This creative freedom fosters a sense of pride and accomplishment, as each batch you produce is a reflection of your skills and personal touch.
Furthermore, the process of cider brewing at home can be immensely satisfying and rewarding. From selecting the ingredients to monitoring the fermentation process and finally enjoying the fruits of your labor, there is a sense of achievement that comes with crafting your own beverage. The hands-on experience of home brewing not only provides a deeper appreciation for the art but also serves as a fulfilling hobby that can bring joy and a sense of accomplishment.
Essential Cider Brewing Equipment
To brew cider at home, you’ll need a few essential pieces of equipment. A fermenter is a crucial component, as it’s where the fermentation process takes place. For beginners, a food-grade plastic bucket or a glass carboy works well. An airlock is another must-have item, allowing carbon dioxide to escape during fermentation while preventing air from entering and contaminating your cider.
A racking cane is a rigid tube used to transfer the cider from the fermenter to bottles or kegs without disturbing the sediment at the bottom. Speaking of bottles and kegs, you’ll need a way to store and carbonate your finished cider. Swing-top bottles or a kegging system are popular choices.
Sanitizing your equipment is crucial to prevent contamination and off-flavors. A no-rinse sanitizer like Star San is highly effective and easy to use. Finally, a hydrometer is an essential tool for measuring the specific gravity of your cider, allowing you to monitor the fermentation process and calculate the alcohol content.
With these essential pieces of equipment, you’ll be well on your way to brewing delicious cider at home. Remember, proper sanitation and attention to detail are key to ensuring a successful batch every time.
Choosing the Right Cider Brewing Kit
Selecting the right cider brewing kit is crucial for both beginners and experienced brewers. These kits come in various sizes and configurations, ranging from basic starter kits to advanced setups with specialized equipment.
Beginner Cider Brewing Kits
For those new to cider brewing, a beginner kit is an excellent starting point. These kits typically include essential equipment like a fermenting bucket or carboy, an airlock, a racking cane, a bottling wand, and basic cleaning and sanitizing supplies. They often come with pre-measured ingredients, such as cider yeast and apple juice concentrate, making the brewing process more straightforward and foolproof.
Beginner kits are designed to be user-friendly and provide a hassle-free introduction to the world of cider brewing. They are generally more affordable and allow you to experiment with the craft before investing in more advanced equipment.
Advanced Cider Brewing Kits
As you gain experience and confidence in cider brewing, you may want to consider upgrading to an advanced kit. These kits cater to seasoned brewers who seek more control over the brewing process and desire to experiment with different ingredients and techniques.
Advanced kits often include higher-quality equipment, such as stainless steel or glass fermenters, precise temperature control systems, and specialized tools like hydrometers, pH meters, and kegging systems. They may also offer a wider range of ingredient options, including various apple varieties, adjuncts (like honey or spices), and specialized yeast strains.
With an advanced kit, you can fine-tune every aspect of the brewing process, from mash schedules to fermentation temperatures, allowing you to create unique and complex cider styles.
Quality Considerations
Regardless of the kit level, it’s essential to consider the quality of the components. Invest in kits from reputable brands that use food-grade materials and prioritize durability. High-quality equipment not only ensures better brewing results but also enhances safety and longevity.
Additionally, pay attention to the included instructions and resources. Well-written manuals, recipe books, and access to online communities can be invaluable for both beginners and advanced brewers, providing guidance, troubleshooting tips, and inspiration for new cider creations.
Step-by-Step Cider Brewing Process
Cider brewing is a rewarding process that allows you to craft your own unique and flavorful ciders. Here’s a step-by-step guide to help you through the process:
- Sanitizing: Proper sanitization is crucial to prevent contamination and ensure a successful brew. Clean and sanitize all equipment, including the fermenter, airlock, siphon, and bottles or kegs, using a food-grade sanitizer.
- Preparing the Must: The must is the unfermented cider juice. Start by crushing or pressing your chosen apples to extract the juice. You can also use store-bought apple juice or cider as a base. Transfer the must to your sanitized fermenter.
- Adding Yeast and Nutrients: Select a suitable yeast strain for the cider style you’re aiming for. Some popular options include wine yeasts, cider yeasts, and ale yeasts. Rehydrate the yeast according to the manufacturer’s instructions, and pitch it into the must. You may also consider adding yeast nutrients to ensure a healthy fermentation.
- Fermentation: Once the yeast is added, seal the fermenter with an airlock to allow carbon dioxide to escape while preventing air from entering. Fermentation can take anywhere from a few weeks to several months, depending on the yeast strain, temperature, and desired cider style.
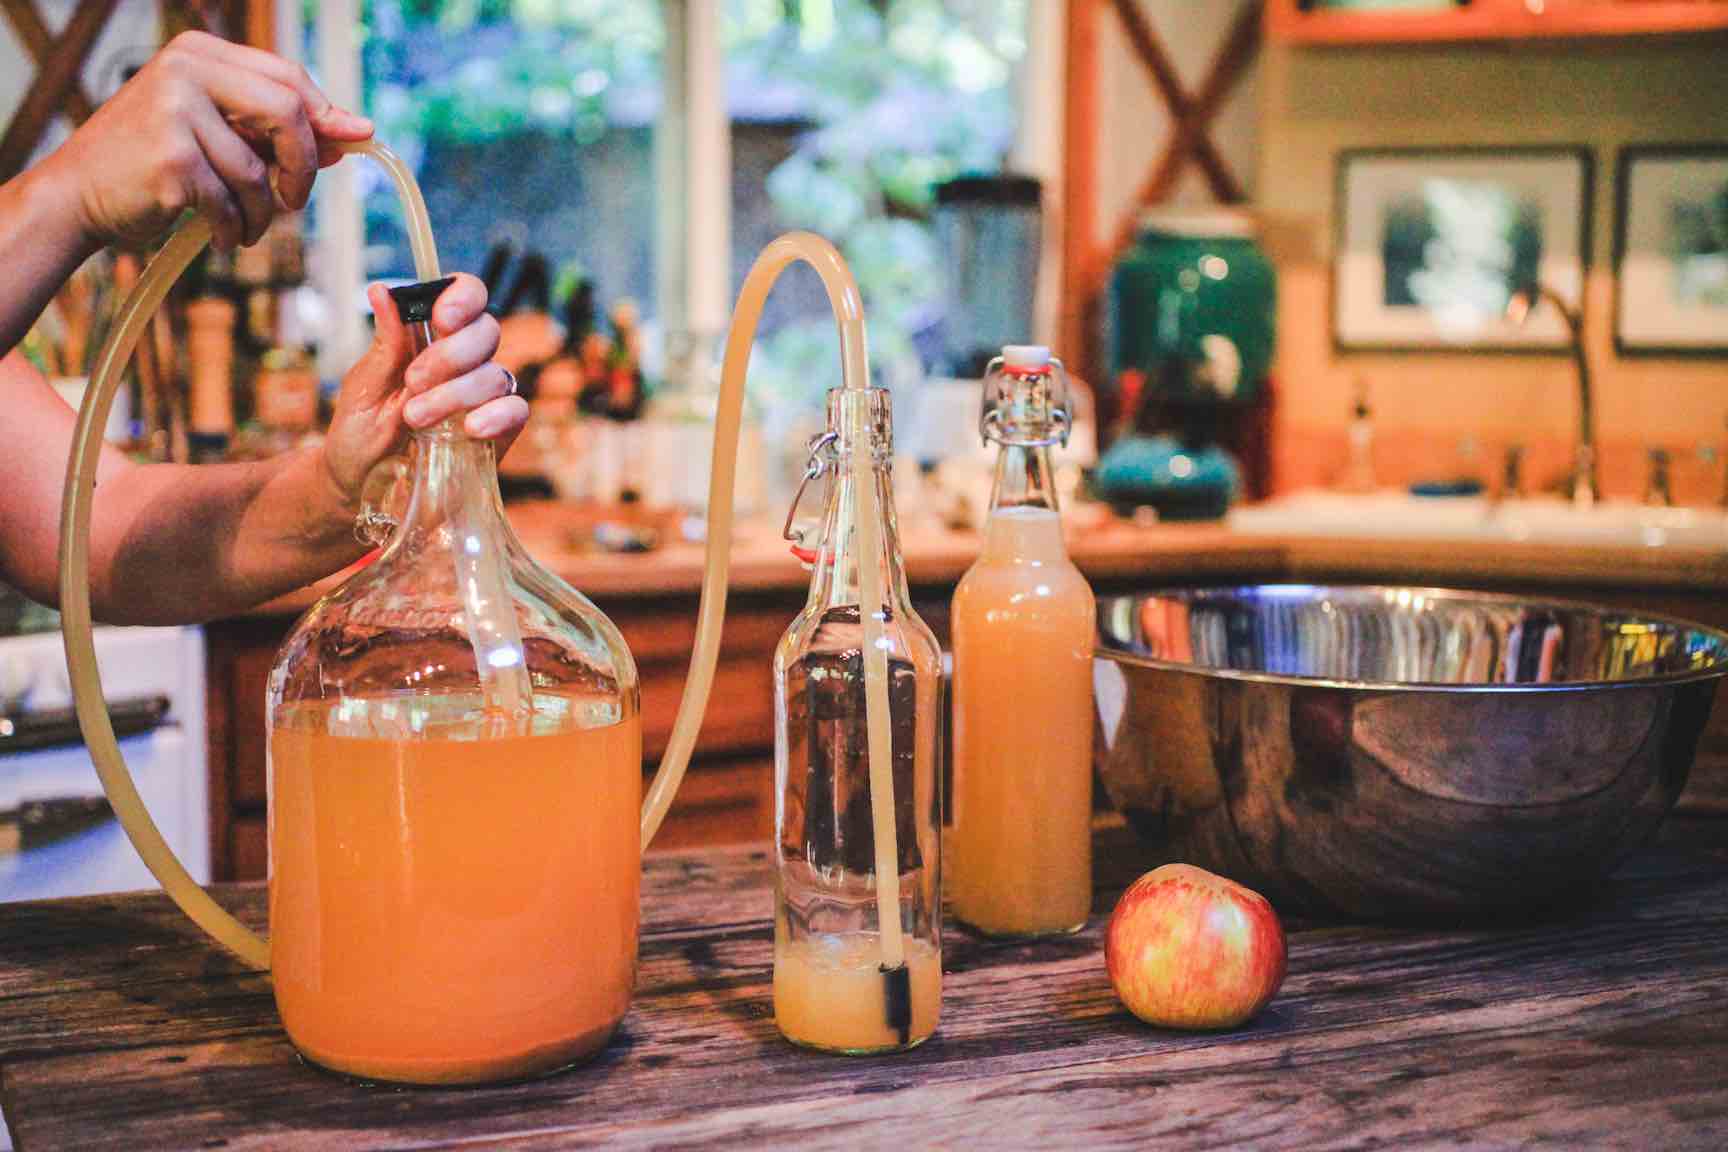
- Racking: After the primary fermentation is complete, it’s time to rack (transfer) the cider off the spent yeast and sediment. Use a sanitized siphon or auto-siphon to carefully transfer the cider to a clean, sanitized fermenter or aging vessel, leaving behind the sediment.
- Secondary Fermentation (Optional): For certain cider styles or to achieve a drier cider, you may want to conduct a secondary fermentation. This involves racking the cider into a new vessel and allowing it to ferment further, potentially with the addition of fruit, spices, or other flavorings.
- Aging and Conditioning: Depending on your desired cider style, you may choose to age or condition your cider for additional flavor development. This can be done in the fermenter, bottles, or kegs. During this time, the cider will continue to clarify and develop its flavor profile.
- Bottling or Kegging: Once your cider has reached the desired level of fermentation, clarity, and flavor, it’s time to bottle or keg it. Sanitize your bottles or keg, and carefully transfer the cider using a sanitized siphon or bottling wand. For carbonated ciders, you’ll need to add a small amount of priming sugar to allow for natural carbonation in the bottles or keg.
Remember to take detailed notes throughout the process, as this will help you replicate or improve your cider in future batches. Enjoy your homemade cider and experiment with different ingredients and techniques to find your perfect blend!
Popular Cider Styles and Recipes
Cider styles can range from bone-dry to sweet, with various fruit infusions and spice additions creating unique flavor profiles. Here are some popular cider styles and recipe examples:
Dry Ciders: Dry ciders have a crisp, tart taste with little to no residual sweetness. They are often compared to dry white wines. A classic dry cider recipe involves fermenting apple juice until all the sugars have been converted to alcohol, resulting in a clean, refreshing cider.
Semi-Sweet Ciders: Semi-sweet ciders strike a balance between sweetness and tartness, making them a crowd-pleasing option. To achieve this style, the fermentation process is halted before all the sugars are converted, leaving some residual sweetness. A semi-sweet cider recipe might include a blend of tart and sweet apple varieties, with a touch of honey or brown sugar added to the mix.
Fruit-Infused Ciders: Infusing ciders with other fruits can create unique and flavorful combinations. Popular options include cherry, raspberry, blackberry, and cranberry. To make a fruit-infused cider, fresh or frozen fruit is added during the fermentation process, imparting its flavor and color to the final product.
Spiced Ciders: Spiced ciders are a cozy treat, especially during the fall and winter months. Common spices used in these ciders include cinnamon, nutmeg, cloves, ginger, and allspice. A spiced cider recipe typically involves adding a blend of these warm spices to the cider during the fermentation or aging process, creating a comforting and aromatic beverage.
When experimenting with cider recipes, it’s essential to keep detailed notes on ingredient ratios, fermentation times, and any additions or variations. This will help you replicate your favorite batches and continue refining your cider-making skills.
Troubleshooting Common Cider Brewing Issues
Cider brewing can be a rewarding experience, but even seasoned homebrewers may encounter challenges along the way. Here are some common issues and potential solutions:
Off-Flavors:
Off-flavors can stem from various factors, such as bacterial contamination, oxidation, or the use of subpar ingredients. Common off-flavors include vinegar-like sourness, sulfur or rotten egg aromas, and cider that tastes like cardboard or sherry. To address off-flavors, ensure proper sanitization, limit oxygen exposure during fermentation, and use high-quality ingredients. If the issue persists, consider seeking advice from experienced cider makers or joining a homebrew community for troubleshooting tips.
Stuck Fermentation:
A stuck fermentation occurs when the yeast stops working before fully converting the sugars into alcohol. This can be caused by factors like high alcohol levels, low nutrient levels, or temperature fluctuations. To prevent stuck fermentations, use a yeast strain suitable for the cider’s alcohol potential, provide adequate nutrients, and maintain proper fermentation temperatures. If a fermentation does get stuck, you can try rousing the yeast, adding more yeast nutrient, or pitching a fresh batch of yeast.
Clarity Issues:
Cloudy or hazy cider can be a result of yeast in suspension, pectin haze, or chill haze. To improve clarity, you can use finings (clarifying agents like gelatin or isinglass) to help the yeast and other particles settle out. Cold crashing (chilling the cider for an extended period) can also help clear up the cider. Additionally, some cider makers opt for filtering or fining with kieselsol and chitosan for a brilliantly clear final product.
Potential Solutions:
If you encounter issues during cider brewing, don’t panic. Many problems can be resolved by adjusting your process or seeking guidance from experienced cider makers. Keeping detailed brewing notes can also help you identify potential causes and make necessary adjustments for future batches. Remember, troubleshooting is part of the learning process, and each challenge presents an opportunity to refine your skills and craft better cider.
Aging and Conditioning Cider
Aging and conditioning are crucial steps in the cider brewing process that greatly impact the final flavor, aroma, and overall quality of your cider. Proper aging and conditioning techniques allow the cider to develop and mature, resulting in a more complex and well-rounded beverage.
Importance of Aging
Aging cider is essential for several reasons:
- Flavor Development: During the aging process, various chemical reactions occur, leading to the formation of new flavor compounds and the integration of existing ones. This results in a smoother, more balanced taste profile.
- Clarity: Over time, suspended particles and yeast sediment will settle, resulting in a clearer and more visually appealing cider.
- Complexity: As cider ages, it develops a more intricate and layered flavor profile, with subtle notes and nuances that evolve over time.
Ideal Aging Conditions
To ensure proper aging, it’s essential to maintain the right conditions:
- Temperature: Cider should be aged at a cool, consistent temperature, typically between 55°F and 65°F (13°C to 18°C). Fluctuations in temperature can adversely affect the aging process.
- Darkness: Cider should be stored in a dark environment, as exposure to light can cause off-flavors and accelerate oxidation.
- Oxygen Exposure: Minimal exposure to oxygen is recommended during aging, as excessive oxidation can lead to undesirable flavors and aromas.
Conditioning Methods
Conditioning refers to the process of preparing the cider for consumption after aging. Common conditioning methods include:
- Racking: Transferring the cider from one vessel to another, leaving behind any sediment or trub. This helps clarify the cider and removes any unwanted flavors or aromas.
- Fining: Adding clarifying agents, such as gelatin or bentonite, to help remove suspended particles and improve clarity.
- Carbonation: If desired, carbonation can be achieved by either force carbonation or bottle conditioning, where a small amount of sugar is added to the cider, allowing the remaining yeast to produce carbon dioxide.
- Sweetening: For sweeter ciders, a process called “back-sweetening” can be employed, where a measured amount of sugar or juice is added to the cider after fermentation is complete.
By carefully aging and conditioning your cider, you’ll be rewarded with a well-crafted, flavorful beverage that showcases the art and skill of home cider brewing.
Food Pairings and Serving Suggestions
Cider is a versatile and refreshing beverage that pairs well with a variety of foods. When it comes to food pairings, consider the cider’s sweetness level, acidity, and flavor profile. Dry ciders with higher tannins and a more wine-like character complement rich, savory dishes like roasted meats, aged cheeses, and hearty stews. Semi-sweet ciders pair beautifully with spicy cuisines, as the sweetness helps balance the heat. Sweet ciders, on the other hand, are a natural match for desserts, particularly those with apple or caramel flavors.
The glassware you choose can also enhance the cider-drinking experience. Tulip or wine glasses are ideal for showcasing the cider’s aroma and allowing it to breathe. Fluted glasses are perfect for showcasing the cider’s effervescence and carbonation levels. For a more casual setting, a traditional pint glass or stein works well.
Temperature plays a crucial role in enjoying cider’s flavors. Most ciders are best served chilled, around 45-55°F (7-13°C). This temperature range allows the flavors to shine without being overly cold or warm. Warmer temperatures can cause the cider to taste flat and lifeless, while excessively cold temperatures can mute the aromas and flavors.
Carbonation levels also impact the overall drinking experience. Still ciders offer a smoother, more wine-like mouthfeel, while sparkling ciders provide a refreshing effervescence and liveliness. The carbonation level you prefer may depend on the occasion, food pairing, or personal taste. Some cider enthusiasts enjoy experimenting with different carbonation levels to find their perfect match.
Resources for Cider Brewers
As you embark on your cider brewing journey, it’s essential to have access to reliable resources that can guide you through the process, provide inspiration, and connect you with a community of fellow enthusiasts. Here are some valuable resources for cider brewers:
Books:
- “Cider Made Simple” by Jeff Alworth – A comprehensive guide for beginners, covering the entire cider-making process from sourcing ingredients to bottling.
- “The Cider Maker’s Manual” by Jonathan Carr – A detailed reference book with in-depth information on cider styles, techniques, and recipes.
- “Cider: Making, Using & Enjoying Sweet & Hard Cider” by Annie Proulx and Lew Nichols – A classic book that explores the history, traditions, and methods of cider making.
Websites and Online Communities:
- CiderGuide.com – An extensive online resource with articles, forums, and a directory of cider makers and suppliers.
- Reddit’s r/cidermaking – An active community of cider makers sharing tips, recipes, and experiences.
- CiderSchool.com – A website offering online courses, tutorials, and resources for cider enthusiasts.
Clubs and Organizations:
- American Cider Association (ACA) – A national organization dedicated to promoting and advancing the cider industry in the United States.
- Local homebrew clubs – Many cities and regions have homebrew clubs that welcome cider makers and offer opportunities for networking and learning.
Continuing Education and Workshops:
- Cider-making workshops and classes offered by local breweries, wineries, or educational institutions.
- Online courses and webinars from organizations like the American Homebrewers Association or the Siebel Institute of Technology.
- Cider-focused events and festivals, where you can attend seminars, tastings, and connect with industry professionals.
Immersing yourself in these resources will not only deepen your knowledge and skills but also introduce you to a vibrant community of cider enthusiasts who share your passion for this ancient and flavorful beverage.