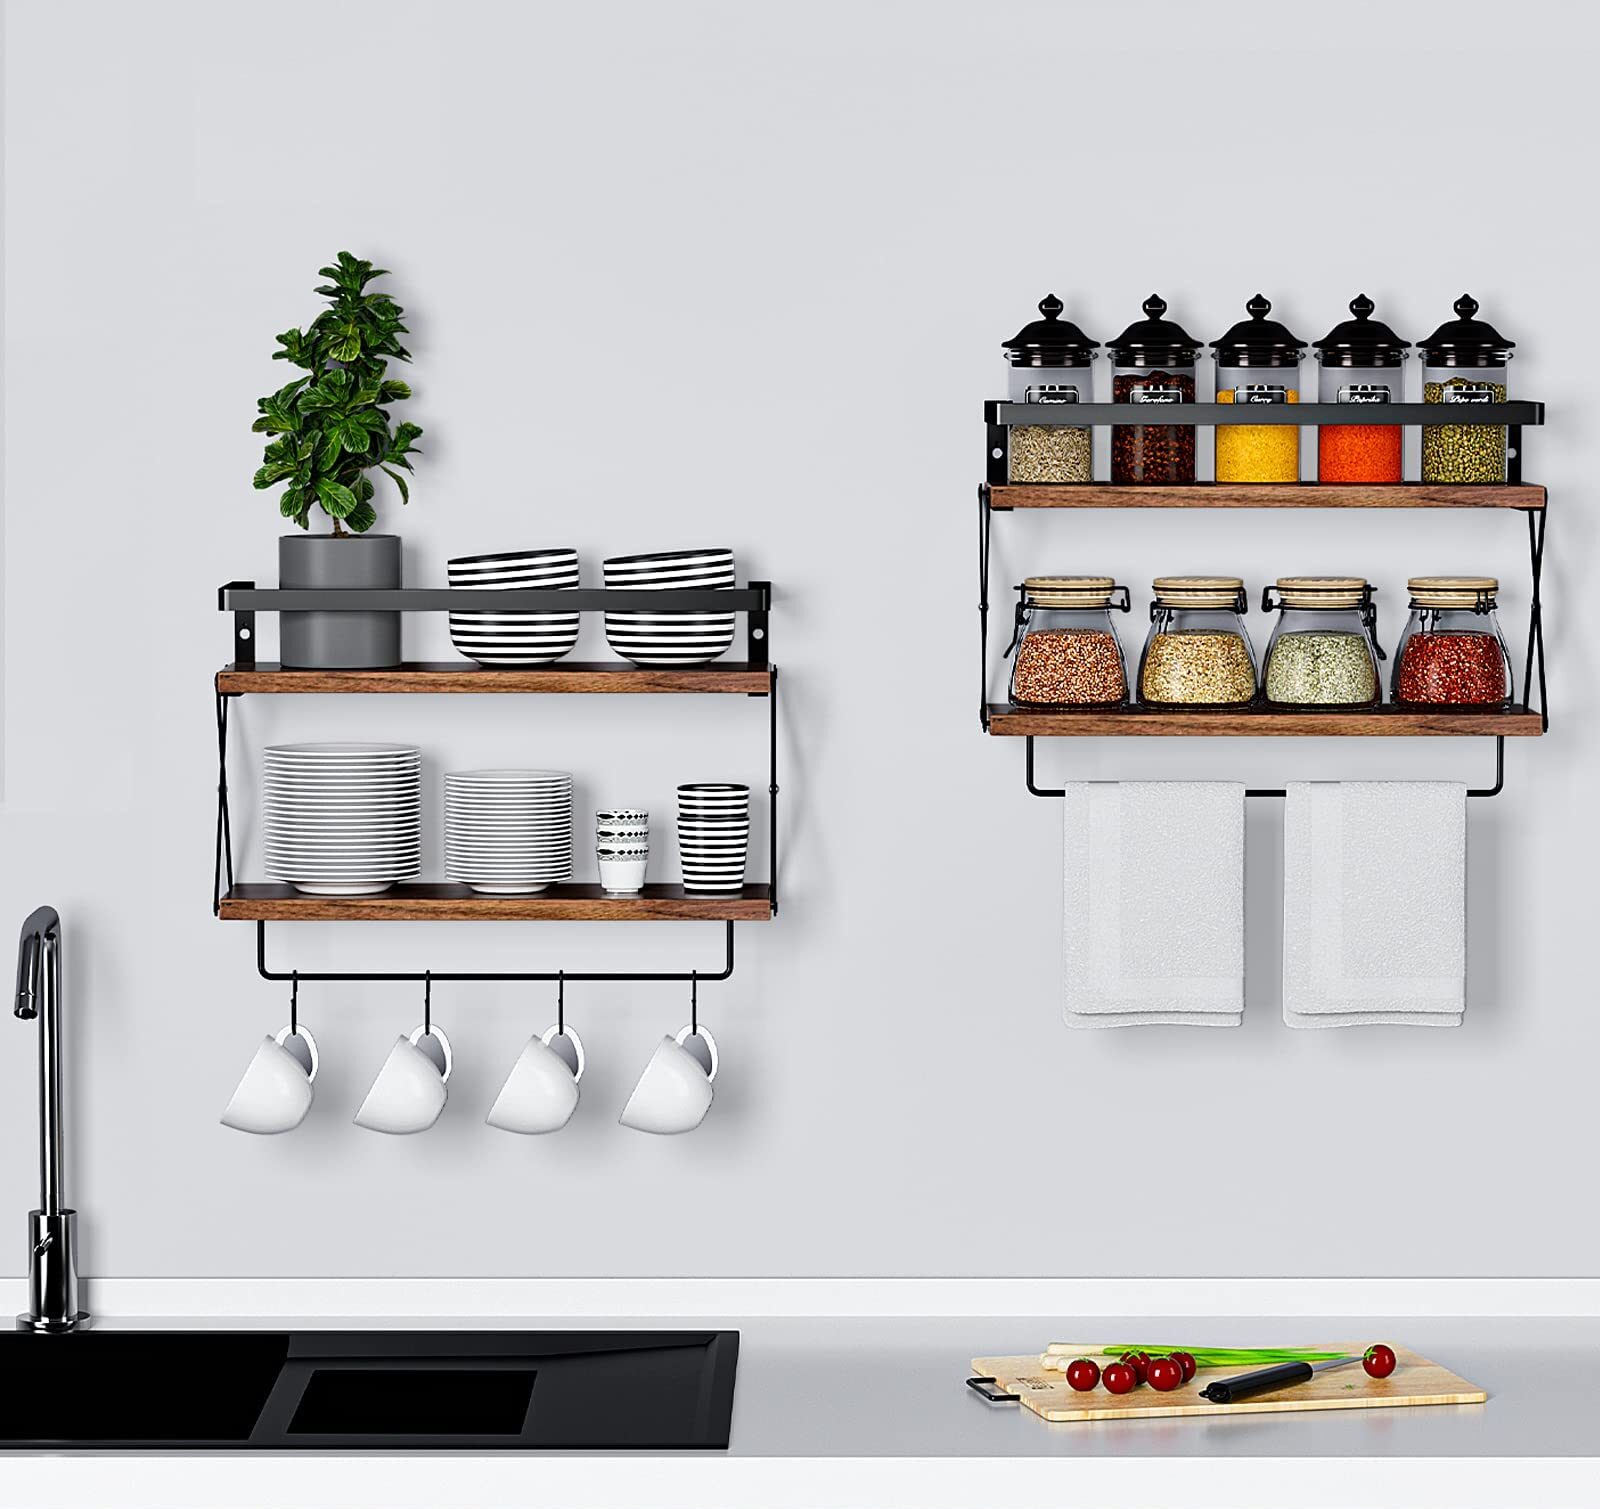
Floating kitchen shelves are a popular and stylish way to add open storage space to kitchens. Unlike traditional shelving that is supported from below, floating shelves are mounted directly to the wall. This gives them a clean, minimalist look as if they are “floating” on the wall.
Floating kitchen shelves are commonly used in kitchens for a few key reasons:
- They maximize vertical storage space on the wall without taking up valuable counter space. This helps keep countertops clutter-free.
- They create an open, airy look compared to bulky cabinets. Floating shelves have a lightweight appearance.
- They provide a place to stylishly display decorative items, cookbooks, spices, or other kitchen necessities.
- They allow you to customize your storage space. Floating kitchen shelves come in a wide variety of sizes, shapes, materials, and finishes to match any kitchen’s style.
- They are relatively easy and inexpensive to install. Floating kitchen shelves can be a DIY project for many homeowners.
The minimalist, clean lines of floating shelves pair beautifully with many modern and contemporary kitchen designs. But they can also add a touch of modern flair to more traditional kitchens as well. If you’re looking to increase storage and style in your kitchen, floating shelves are a great option to consider.
Table of Contents
Benefits of Installing Floating Kitchen Shelves
Floating kitchen shelves are a great way to add extra storage and display space to your kitchen. Here are some of the key benefits of installing DIY Floating kitchen shelves:
- More storage space – Floating kitchen shelves create additional storage real estate on your walls without taking up valuable counter or floor space. You can use floating kitchen shelves to store frequently used cooking items, small appliances, cookbooks, decorative items and more.
- Display items – Floating kitchen shelves allow you to beautifully display your favorite cookware, dishes, glassware and decorative items. They are perfect for showing off your style and personality.
- Easy to install yourself – Installing floating kitchen shelves is a DIY project that can typically be completed in just an hour or two with basic tools. No need to hire a handyman for this job. With the right brackets and some simple tools, you can handle it yourself.
- Affordable – Floating kitchen shelves are one of the most budget-friendly storage and display solutions for your kitchen. The materials like brackets, boards and mounting hardware are relatively inexpensive compared to built-ins or cabinetry. You can add lovely shelving to your kitchen without breaking the bank.
Planning and Measuring
Proper planning and measuring is crucial for a successful DIY floating shelf project. Here are some key steps:
- Measure the wall space where you want to install the shelves. Make sure to account for any windows, doors, or electrical outlets. Measure the width and height of the available space.
- Decide on the size and number of shelves you want to install. Standard shelf widths are commonly 12″, 18″, or 24″. Make a sketch of your desired shelf layout.
- Locate the wall studs using a stud finder. Mark their locations with painter’s tape. Shelves must be securely anchored into studs to hold weight.
- Consider the load capacity of your shelves. Are they just for lightweight decor or will they hold books? Heavier loads require stronger brackets anchored to studs.
- Check that your shelf brackets are rated for the load capacity you need. Read manufacturer instructions for weight limits and spacing between brackets.
- Measure and mark bracket locations based on your stud markings. Space brackets evenly across the shelf width. Allow 2-3 inches of overlap on each side of the shelf.
- For extra strength, align brackets directly with studs if possible. If not, use hollow wall anchors rated for the shelf load.
- Measure and mark the exact shelf length needed between brackets. Leave a 1/4″ gap between shelf and wall.
- Do a final check of measurements before installing brackets and shelves. Precise measuring prevents headaches later.
Materials Needed
To install DIY floating kitchen shelves in your kitchen, you’ll need to gather the following materials:
Shelves
- Wooden shelves come in various sizes, shapes, and styles. Select the look you want for your kitchen. Pine or oak boards are commonly used.
Brackets
- Metal brackets specially designed for floating kitchen shelves are essential. They have a unique L-shape and come in different sizes to match your shelves. Look for durable steel or aluminum.
Screws
- Choose screws long enough to securely anchor the brackets into the wall studs. Wood screws around 2 to 3 inches long are typical.
Drill
- You’ll need an electric drill with the right drill bits for driving screws into wood and drywall. Have Phillips and flathead bits ready.
Stud Finder
- A stud finder is a must to locate the wood studs behind your wall so you can install the brackets securely. Electronic stud finders are the most accurate.
Level
- A small spirit level will help make sure your brackets and shelves are evenly horizontal when installed. Opt for a bubble level that’s easy to position.
Preparing the Wall
Before installing your floating kitchen shelves, you’ll need to properly prepare the wall. This involves a few key steps:
Finding the Wall Studs
Locate the studs in the wall using a stud finder. Studs are the vertical boards behind the drywall that provide structure and support. Mark the center of each stud with a pencil so you know exactly where to attach the brackets. Studs are usually 16 inches apart.
Mark Bracket Locations
Based on your shelf measurements, mark where you want the outer edges of the shelves to sit. Then measure in from the shelf marks the same distance as the bracket width to mark where the brackets will go. Make sure your bracket marks line up with the stud center marks.
Prep the Surface
Make sure the wall area is clean and dry. Fill any holes or imperfections with drywall spackle and sand smooth. This gives the brackets and shelves a nice flat surface to adhere to. Wipe away any dust or debris. You may also want to prime and paint the wall area before installing the shelves for a more finished look.
Now the wall is prepped and ready for bracket installation! Just follow the manufacturer’s instructions to securely mount the brackets.
Installing the Brackets
Installing the brackets is one of the most important steps in ensuring your DIY floating kitchen shelves are properly supported. Be sure to follow the manufacturer’s instructions for bracket placement and screw selection. Using the wrong screws can lead to the shelf pulling out of the wall.
When installing the brackets, make sure to space them evenly along the length of the shelf. The general rule of thumb is to place a bracket near each end and space additional brackets every 16-24 inches. Refer to the shelf dimensions and weight capacity to determine the ideal bracket spacing.
Here are some tips for properly installing the brackets:
- Hold the bracket against the wall and use a level to ensure it is straight before marking the screw holes. This will keep your shelf level.
- Drill pilot holes in the marked locations to avoid splitting the wall material when screwing in the brackets.
- Use the screws provided with the brackets or choose appropriate wall anchors and screws based on your wall material. Avoid using screws that are too long.
- Tighten the screws firmly so the brackets are snug against the wall, but be careful not to over-tighten.
- Double check that all brackets are level before hanging the shelves.
Taking the time to properly install the brackets will provide sturdy support and keep your floating kitchen shelves securely mounted on the wall for years to come.
Hanging the Shelves
Once the brackets are installed, it’s time to hang the shelves. This is the most exciting part because you’ll start to see your DIY floating kitchen shelves come together.
First, place the shelves on the brackets. Make sure the brackets fit into the slots or holes on the back of the shelves.
Then, use a level to check that each shelf is perfectly horizontal. Place the level on top of the shelf and adjust if needed. The shelf should be completely balanced without tipping down on either side.
If the shelf is not level, you can adjust the bracket height by loosening the screws slightly and moving the bracket up or down until the shelf sits flat. Then tighten the screws securely.
Repeat this process for each shelf, checking with the level every time. Pay close attention to make sure the shelves line up evenly on the wall.
Once all the shelves are installed level, add any additional decorative brackets or support braces if desired.
Then, take a step back and admire your work! The floating kitchen shelves should now be securely mounted and ready to hold your favorite kitchen items.
Decorating the Shelves
Floating kitchen shelves provide a great opportunity to showcase your style and decor. When arranging your display, consider the overall aesthetic you want to achieve. Here are some tips:
- Mix and match items – Combine books, photos, plants, artwork, and knickknacks for an eclectic look. Vary heights, colors, and textures.
- Style in groups – Cluster 3-5 items together on each shelf. This looks more cohesive than scattering lone items.
- Use bookends – Bookend your books and objects to keep them upright and anchored. Select bookends that match your decor.
- Incorporate lighting – Install battery-operated puck lights or strip lighting to illuminate and accent your shelves.
- Add greenery – Houseplants instantly freshen up any space. Trailing vines or succulents look lovely.
- Rotate seasonal decor – Change out some items seasonally to keep your shelves looking fresh. Display holiday decor or seashells in summer.
- Limit clutter – While you want your shelves to look full, avoid cramming too many things together. Leave some breathing room.
- Dust regularly – Wipe down your shelves and items to keep your display looking its best. Dust attracts more dust!
With some creativity and styling, your floating kitchen shelves can really stand out as an artistic feature in your kitchen. Take time to thoughtfully arrange and curate your shelves to complement your existing decor.
Maintenance
Floating kitchen shelves require a bit of regular maintenance to keep them looking their best and functioning properly. Here are some tips for maintaining DIY floating kitchen shelves:
Cleaning
- Dust shelves regularly with a microfiber cloth to prevent dust buildup. For deeper cleaning, use a mild soap and water solution and wipe gently. Avoid abrasive cleaners.
- For wood shelves, occasionally apply a wood polish or conditioner to protect and shine the wood. Follow product instructions.
- For painted shelves, use a mild cleaner and soft cloth to clean. Avoid harsh chemicals that could damage the paint.
- For glass shelves, clean with a glass cleaner and lint-free cloth. Avoid using paper towels or abrasive pads.
- For metal shelves, wipe with a damp cloth and avoid letting moisture sit on metal for long periods to prevent corrosion.
Checking Connections
- Periodically check that all screws and brackets are still tight and secure. Tighten any loose connections.
- Look for any sagging shelves and tighten brackets as needed.
- Inspect for any damage, warping, cracks, etc. Make repairs as soon as any issues are noticed.
- If anchors come loose from the wall, re-anchor following original installation steps.
- Follow any additional maintenance recommendations from the shelf manufacturer.
Proper care will help floating kitchen shelves maintain strength, beauty, and function for many years. A little regular effort goes a long way.
Conclusion
Installing floating kitchen shelves in your kitchen is an easy and affordable way to add functional storage and display space. By following the simple process outlined above, you can transform any bare wall into an eye-catching focal point.
The key steps include properly measuring and marking stud locations, mounting sturdy brackets, and carefully hanging the shelves. While it does require some basic DIY skills, this project can be completed in just an afternoon with minimal tools.
The end result is well worth the small amount of effort. Floating shelves provide a lightweight storage solution that makes the most of vertical wall space. They are ideal for holding cookbooks, spices, decorative items, and other kitchen essentials. The open design keeps the room feeling airy and uncluttered.
Floating shelves also deliver visual impact and character. They can be stained, painted, or finished to match your decor. Mixing shelves of different sizes, styles, and arrangements creates an artistic, gallery-like look. This eye-catching display will upgrade your kitchen’s aesthetic instantly.
With all these benefits, installing DIY floating shelves is a smart upgrade for any home cook or entertainer. The project allows you to inexpensively customize your space and make it even more functional and beautiful.


